How to choose a plug-in solar kit: size, certification, mounting
Pick the size from your always-on load, the certification from your state law, and the mount from your railing. A checklist for buying a balcony solar kit in the US.
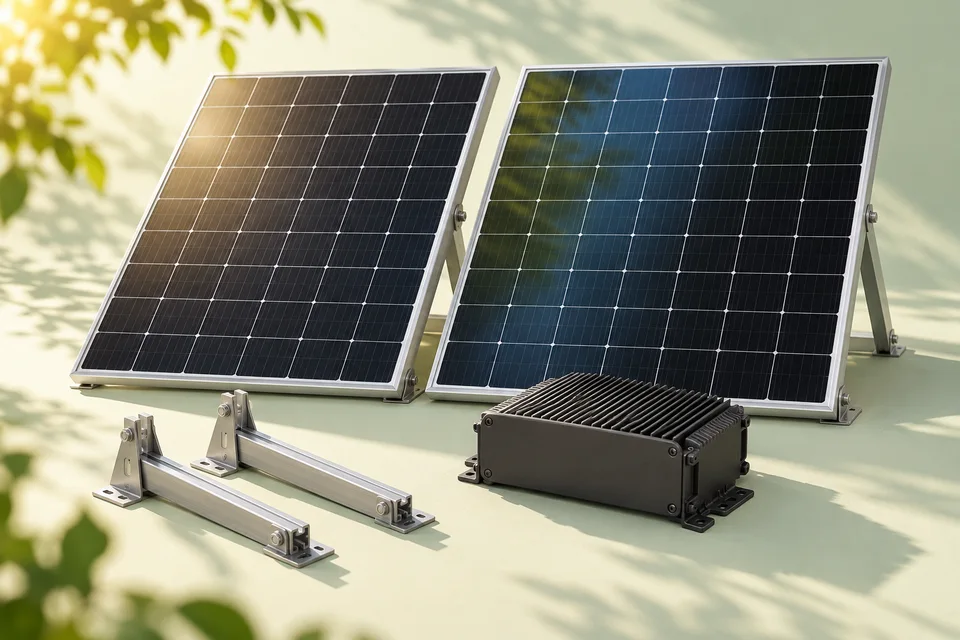
Choose in this order: what your state allows, what size your home can use, which certification to require, and how it will mount. Brand comes last.
1. Check your state’s limits
Most plug-in laws cap output at 1,200 W, but the details differ. Vermont counts the combined inverter capacity per meter, so two smaller devices are fine. Connecticut and Maryland allow only one device or system per meter. Maine requires a licensed electrician above 420 W. Find your rules on the state map.
2. Size it to your always-on load
Compare the energy you can use as it is generated, rather than matching panel nameplate watts directly to household watts. Solar output varies throughout the day, and the inverter, facing, shade and kit price all affect the result.
Use measured daytime consumption as the starting point for the calculator. Compare several actual kit sizes and total installed prices while keeping your location and mounting assumptions the same. Watch both annual savings and simple payback: a higher self-use percentage alone does not prove a better purchase. The calculator’s constant-load assumption cannot replace an actual hourly consumption profile.
3. Require the right certification
Buy a kit whose microinverter or system is listed by a nationally recognized testing laboratory to the standard your state names. Vermont and New Jersey name UL 3700; Connecticut names UL 1741. As of September 2026, Solar.com listed the Hoymiles HiFlow Pro, APsystems EZ1 and Mango Power S kit as UL 3700 certified. Details in our UL 3700 guide.
4. Choose a mount that fits your railing
- Railing hooks or clamps for metal railings. Check that they are rated for the panel’s weight and wind load.
- Tilting brackets angle the panel outward and can increase yearly output compared with vertical; the amount depends on location and facing. See orientation.
- Ground or deck stands for patios and flat roofs, at 20–35°.
- Lightweight or flexible panels reduce load on railings, but usually cost more per watt and age faster.
5. Compare total cost with usable energy
Typical plug-in kits ran $600 to $1,500 in Solar.com’s September 2026 survey. Compare the full system price (panels, microinverter, mounts, cable) against the self-used energy and annual savings the calculator estimates for your setup, not against panel wattage alone.
Buyer’s checklist
- Within my state’s wattage cap and per-meter limit
- Microinverter or system certified by an NRTL to the standard my state names
- Plug goes directly into a wall outlet on a circuit without heavy loads
- Mounting hardware rated for my railing and local wind
- Landlord or HOA notified or approved, in writing
- Utility notified, if my state requires it
- Warranty covers the microinverter for at least 10 years
Common questions
What size balcony solar kit should I buy?
For most apartments, 400 to 800 W. Size it so the kit's midday output is not much more than what your home draws all the time, since exported power usually earns nothing.
Can I connect two kits?
It depends on the state. Vermont allows several devices up to a combined 1,200 W per meter. Connecticut and Maryland allow one device or system per meter. Never daisy-chain units unless the product is certified for it.
Should I buy a kit with a battery?
Only if you have little daytime load and the price difference is small. A battery stores midday surplus for the evening but adds cost, weight and another device that needs certification.
Sources
- Solar.com, UL 3700 certified plug-in products and price range, Sep 22, 2026
- NRG Clean Power, California's balcony solar bill (SB 868)
- pv magazine, A guidebook on plug-in balcony solar for U.S. policymakers
- Vermont Act 149 of 2026 (combined inverter capacity per meter)
- Connecticut Public Act 26-127 (one device per meter)
- Maryland PSC, Balcony Solar (one system per meter)